> For the complete documentation index, see [llms.txt](https://docs.phron.ai/llms.txt). Markdown versions of documentation pages are available by appending `.md` to page URLs; this page is available as [Markdown](https://docs.phron.ai/developers/build-with-phronai/sdks-and-tools/ethereum/dev-environments/scaffold-phr.md).
# Scaffold-PHR
## Using Scaffold-ETH 2 to Deploy a DApp on Phron
### Introduction
[Scaffold-ETH 2](https://github.com/scaffold-eth/scaffold-eth-2) is a collection of commonly used Ethereum development tools to quickly deploy a Solidity smart contract and launch a DApp with a React frontend.
Scaffold-ETH 2 consists of several sub-components, including [Hardhat](https://hardhat.org/docs) for creating, deploying, and testing smart contracts and [Next.js](https://nextjs.org/docs) for building a React frontend. These components can be used on Phron networks with some slight modifications.
This guide will walk through the steps to deploy and run the default example contract and DApp that Scaffold-ETH 2 comes with on a Phron network.
### Checking Prerequisites
To get started, you will need the following:
* An account with funds. You can get DEV tokens for testing on Phron once every 24 hours from the [Phron Faucet](https://faucet.phron.ai/)
* A Phronscan API key
* To test out the examples in this guide on Phron, you will need to have your own endpoint and API key, which you can get from one of the supported Endpoint Providers
#### Installing Scaffold-ETH 2
First, download [Scaffold-ETH 2 from GitHub](https://github.com/scaffold-eth/scaffold-eth-2).
From the command line, enter:
```bash
git clone https://github.com/scaffold-eth/scaffold-eth-2.git
```
After the download completes, run:
```bash
yarn install
```
### The Development Process with Scaffold-ETH 2
The process for developing a project with Scaffold-ETH 2 can be outlined as follows:
1. Update the network configurations in Hardhat for Phron
2. Add your smart contracts to the `packages/hardhat/contracts`
3. Edit your deployment scripts in the `packages/hardhat/deploy`
4. Deploy your smart contracts to Phron
5. Verify your smart contracts with the Etherscan plugin and your Phronscan API key
6. Configure your frontend to target Phron in the `packages/nextjs/scaffold.config.ts` file
7. Edit your frontend as needed in the `packages/nextjs/pages` directory
In this guide, you can use the default contract and frontend that you get out of the box when you clone the Scaffold-ETH 2 repository. All you'll have to do is modify these components for Phron.
### The Hardhat Component
In the following sections, you'll update the network configurations in the Hardhat configuration file to target the Phron-based network you want to interact with, and deploy and verify the example contract to that network.
#### Configure Hardhat for Phron
You can begin by making modifications to the Hardhat component under the `packages/hardhat` folder. You'll primarily be editing the `hardhat.config.js` file to configure it for Phron. However, you'll also need to create a `.env` file to store a couple of variables that will be consumed by the `hardhat.config.js` file.
You can refer to the `.env.example` file for the variables that are already used in the `hardhat.config.js` file. For Phron, you'll only need to create two variables: `DEPLOYED_PRIVATE_KEY` and `ETHERSCAN_API_KEY`.
Check out the Etherscan Plugins documentation to learn how to generate a Phronscan API key.
To get started, create a `.env` file:
```bash
touch packages/hardhat/.env
```
Edit your `.env` file to include the following variables:
```bash
DEPLOYER_PRIVATE_KEY=INSERT_PRIVATE_KEY
ETHERSCAN_API_KEY=INSERT_PHRONSCAN_API_KEY
```
The private key you add to your `.env` file corresponds to the account that will deploy and interact with the smart contracts in your Hardhat project. Additionally, the Etherscan API key will correspond to your Phronscan API key and will be used to verify your deployed smart contracts. To learn how to generate a Phronscan API key, check out the Etherscan Plugins documentation.
With the environment variables taken care of, next you can modify the `hardhat.config.js` file for Phronscan:
1. Set the constant `defaultNetwork` to the network you are deploying the smart contract to
```
defaultNetwork = 'phron';
```
2. Add the network configurations for the Phron network you want to interact with under the `networks` configuration object
```javascript
phron: {
url: "INSERT_RPC_API_ENDPOINT",
accounts: [deployerPrivateKey],
},
```
For more information on using Hardhat with Phron, please check the dedicated Hardhat page for more details.
#### Deploy Your Contract to Phron
After all the modifications to the configuration files are done, you can deploy your contract to the configured Phron-based network.
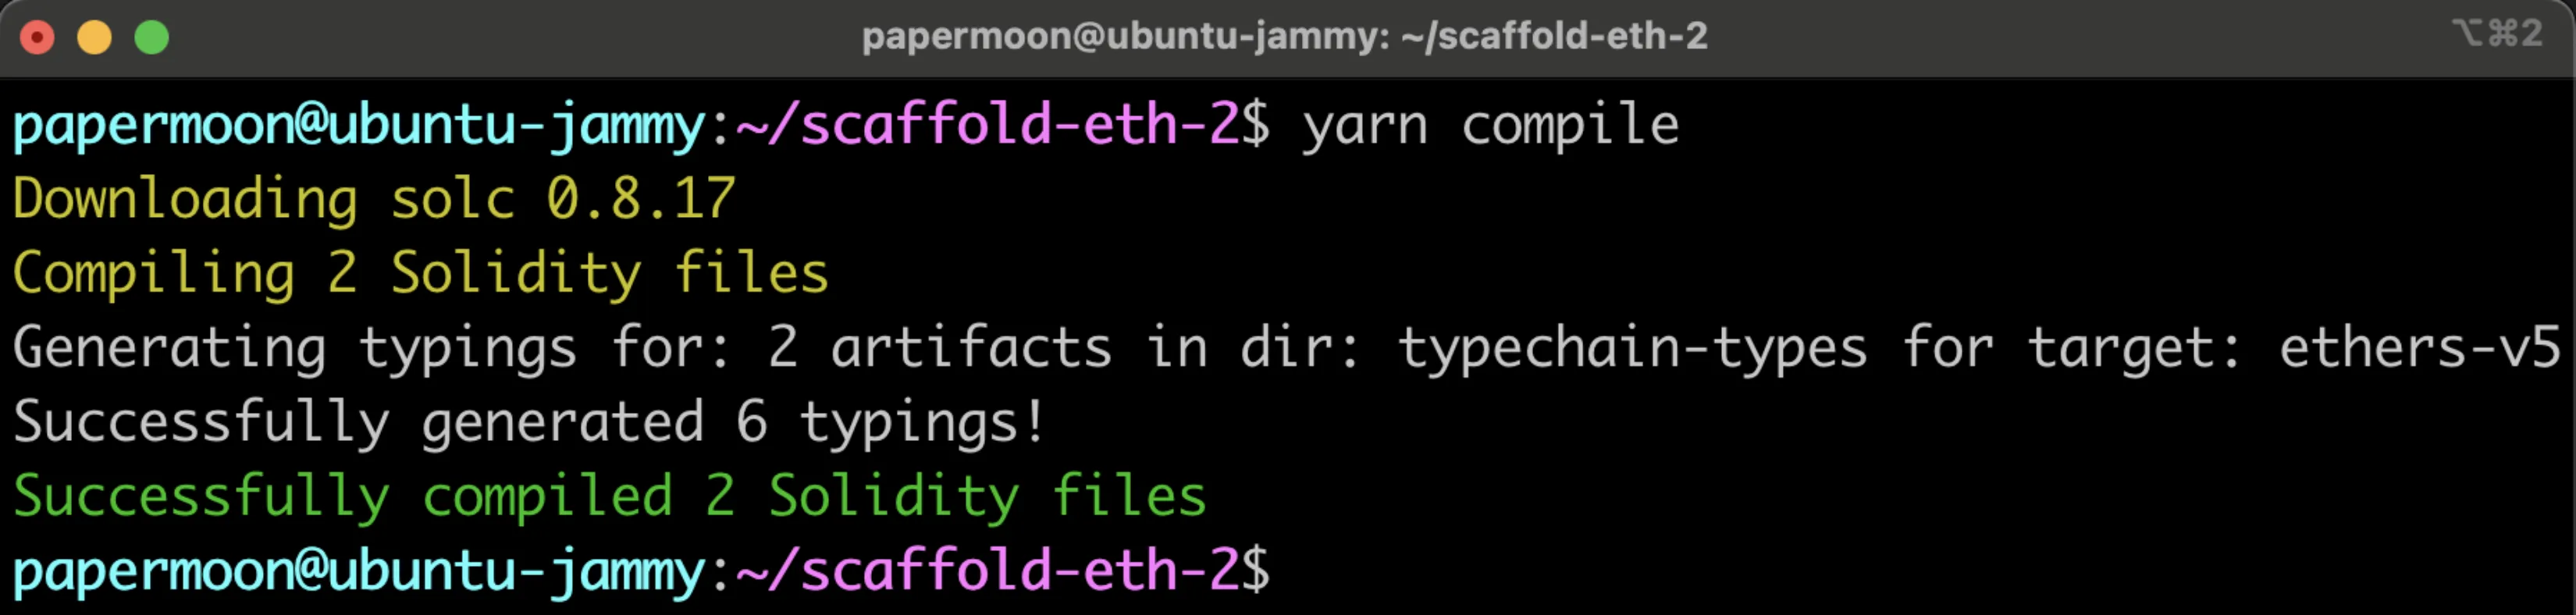
First, you can compile your contract by running:
```bash
yarn compile
```
Then, you can run the following command from the root directory of your project:
```bash
yarn deploy
```

> ### Note
>
> If you did not set the `defaultNetwork` config in the `hardhat.config.js` file, you can append `--network INSERT_NETWORK` to the command. For example, the following command would deploy a contract to Phron.
```bash
yarn deploy --network phron
```
#### Verify Your Deployed Contract
If you would also like to use Scaffold-ETH 2 to verify the deployed smart contract and have entered your Phronscan API key into the `.env` file, you can go ahead and verify your deployed contract.
If the smart contract you are verifying has constructor method parameters, you will also need to append the parameters used to the end of the command.
You can use the following command to verify the smart contract:
```bash
yarn verify --api-url https://testnet.phronscan.io
```
> ### Note
>
> If you did not set the `defaultNetwork` configuration in the `hardhat.config.js` file, you can append `--network INSERT_NETWORK` to the command. For example, the following command would verify a contract on Phron.
```bash
yarn verify --network phron --api-url https://testnet.phronscan.io
```
After a short wait, the console output will display the verification result and, if successful, the URL to the verified contract on Phronscan.
For more information about verifying smart contracts on Phron using the Hardhat Etherscan plugin, please refer to the Etherscan Plugins page.
### The Next.js Component
In the following sections, you'll modify the Next.js configuration so that it targets the Phron-based network that your contract has been deployed to, and then you'll launch the dApp.
#### Configure the DApp for Phron
To target the Phron network that you deployed your smart contract to, you'll need to edit the configurations in the `packages/nextjs/scaffold.config.ts` file. More specifically, you'll need to modify the `targetNetworks` array in the `scaffoldConfig` object. You can use the [list of chains that viem provides](https://github.com/wevm/viem/blob/main/src/chains/index.ts) to specify the chain(s) you've deployed your contract to.
```bash
targetNetworks: [chains.phron],
```
That's all you have to do to configure Next.js! Next, you can launch the dApp.
#### Launch the DApp
After all the modifications to the configuration files are done, you can launch the example dApp. To do so, you can run:
```bash
yarn start
```
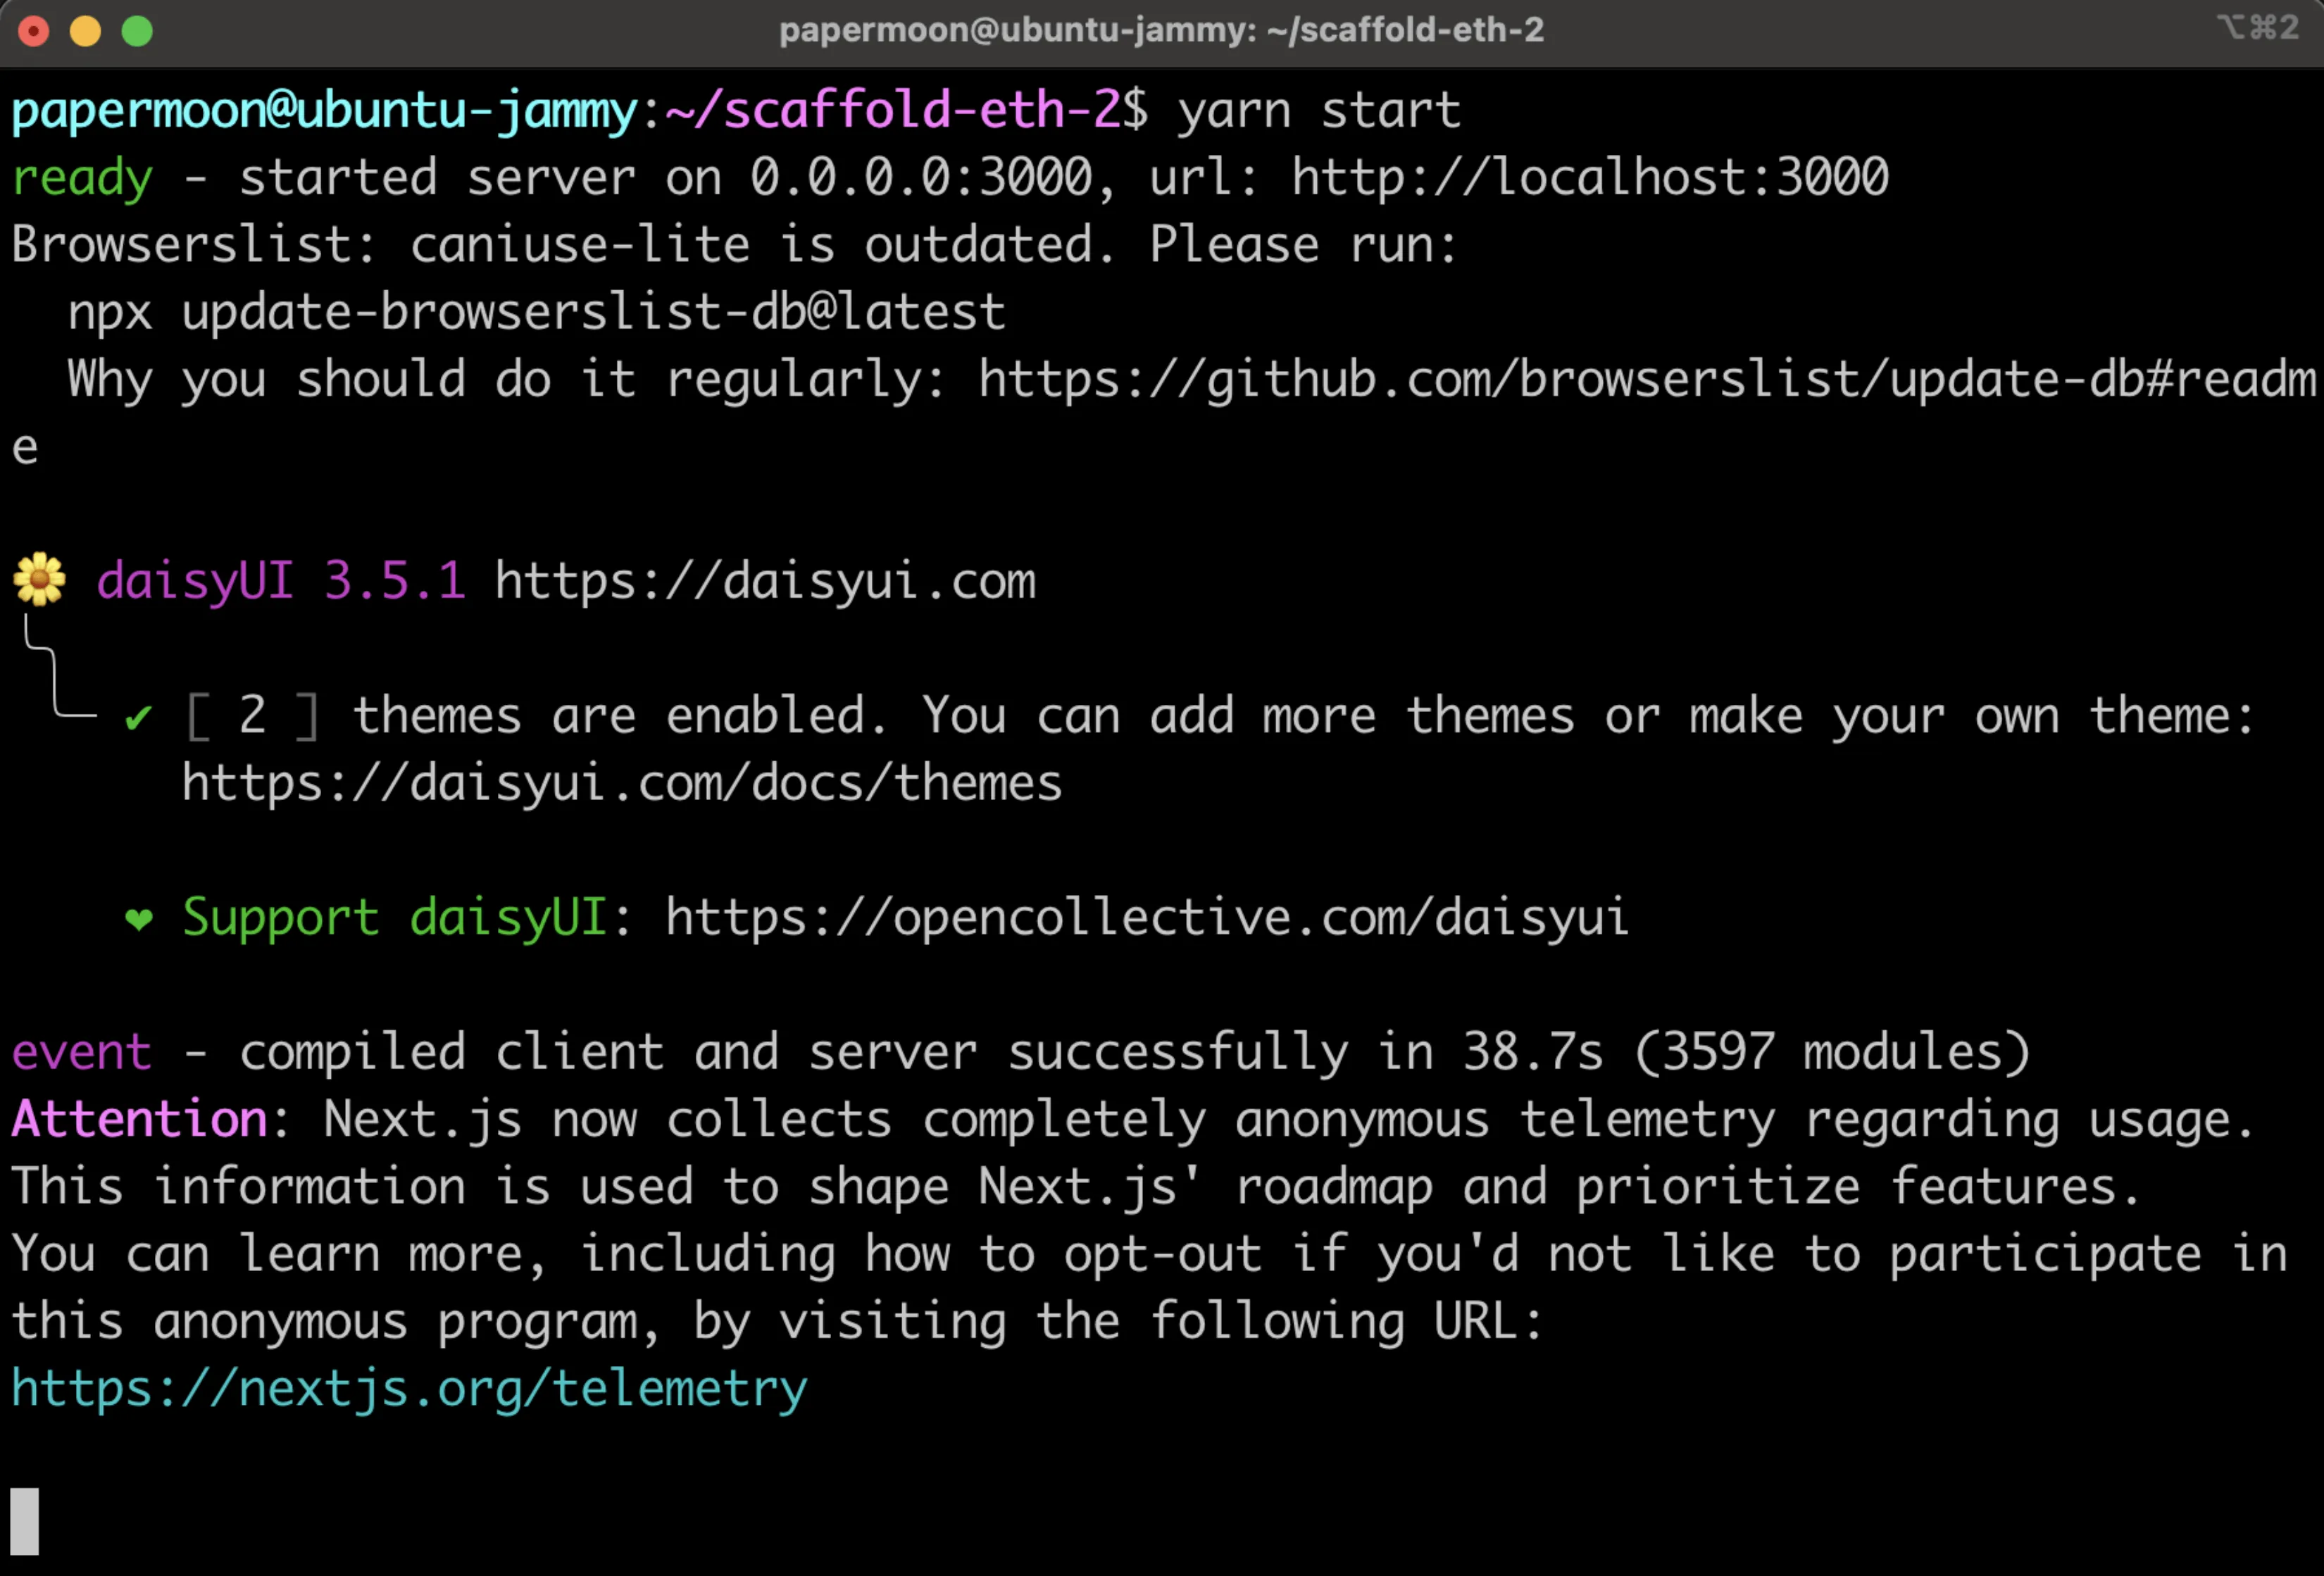
This will launch the React-based DApp frontend at by default. You can then point your browser to and interact with the React frontend by connecting your wallet or checking out the contract debugger page.
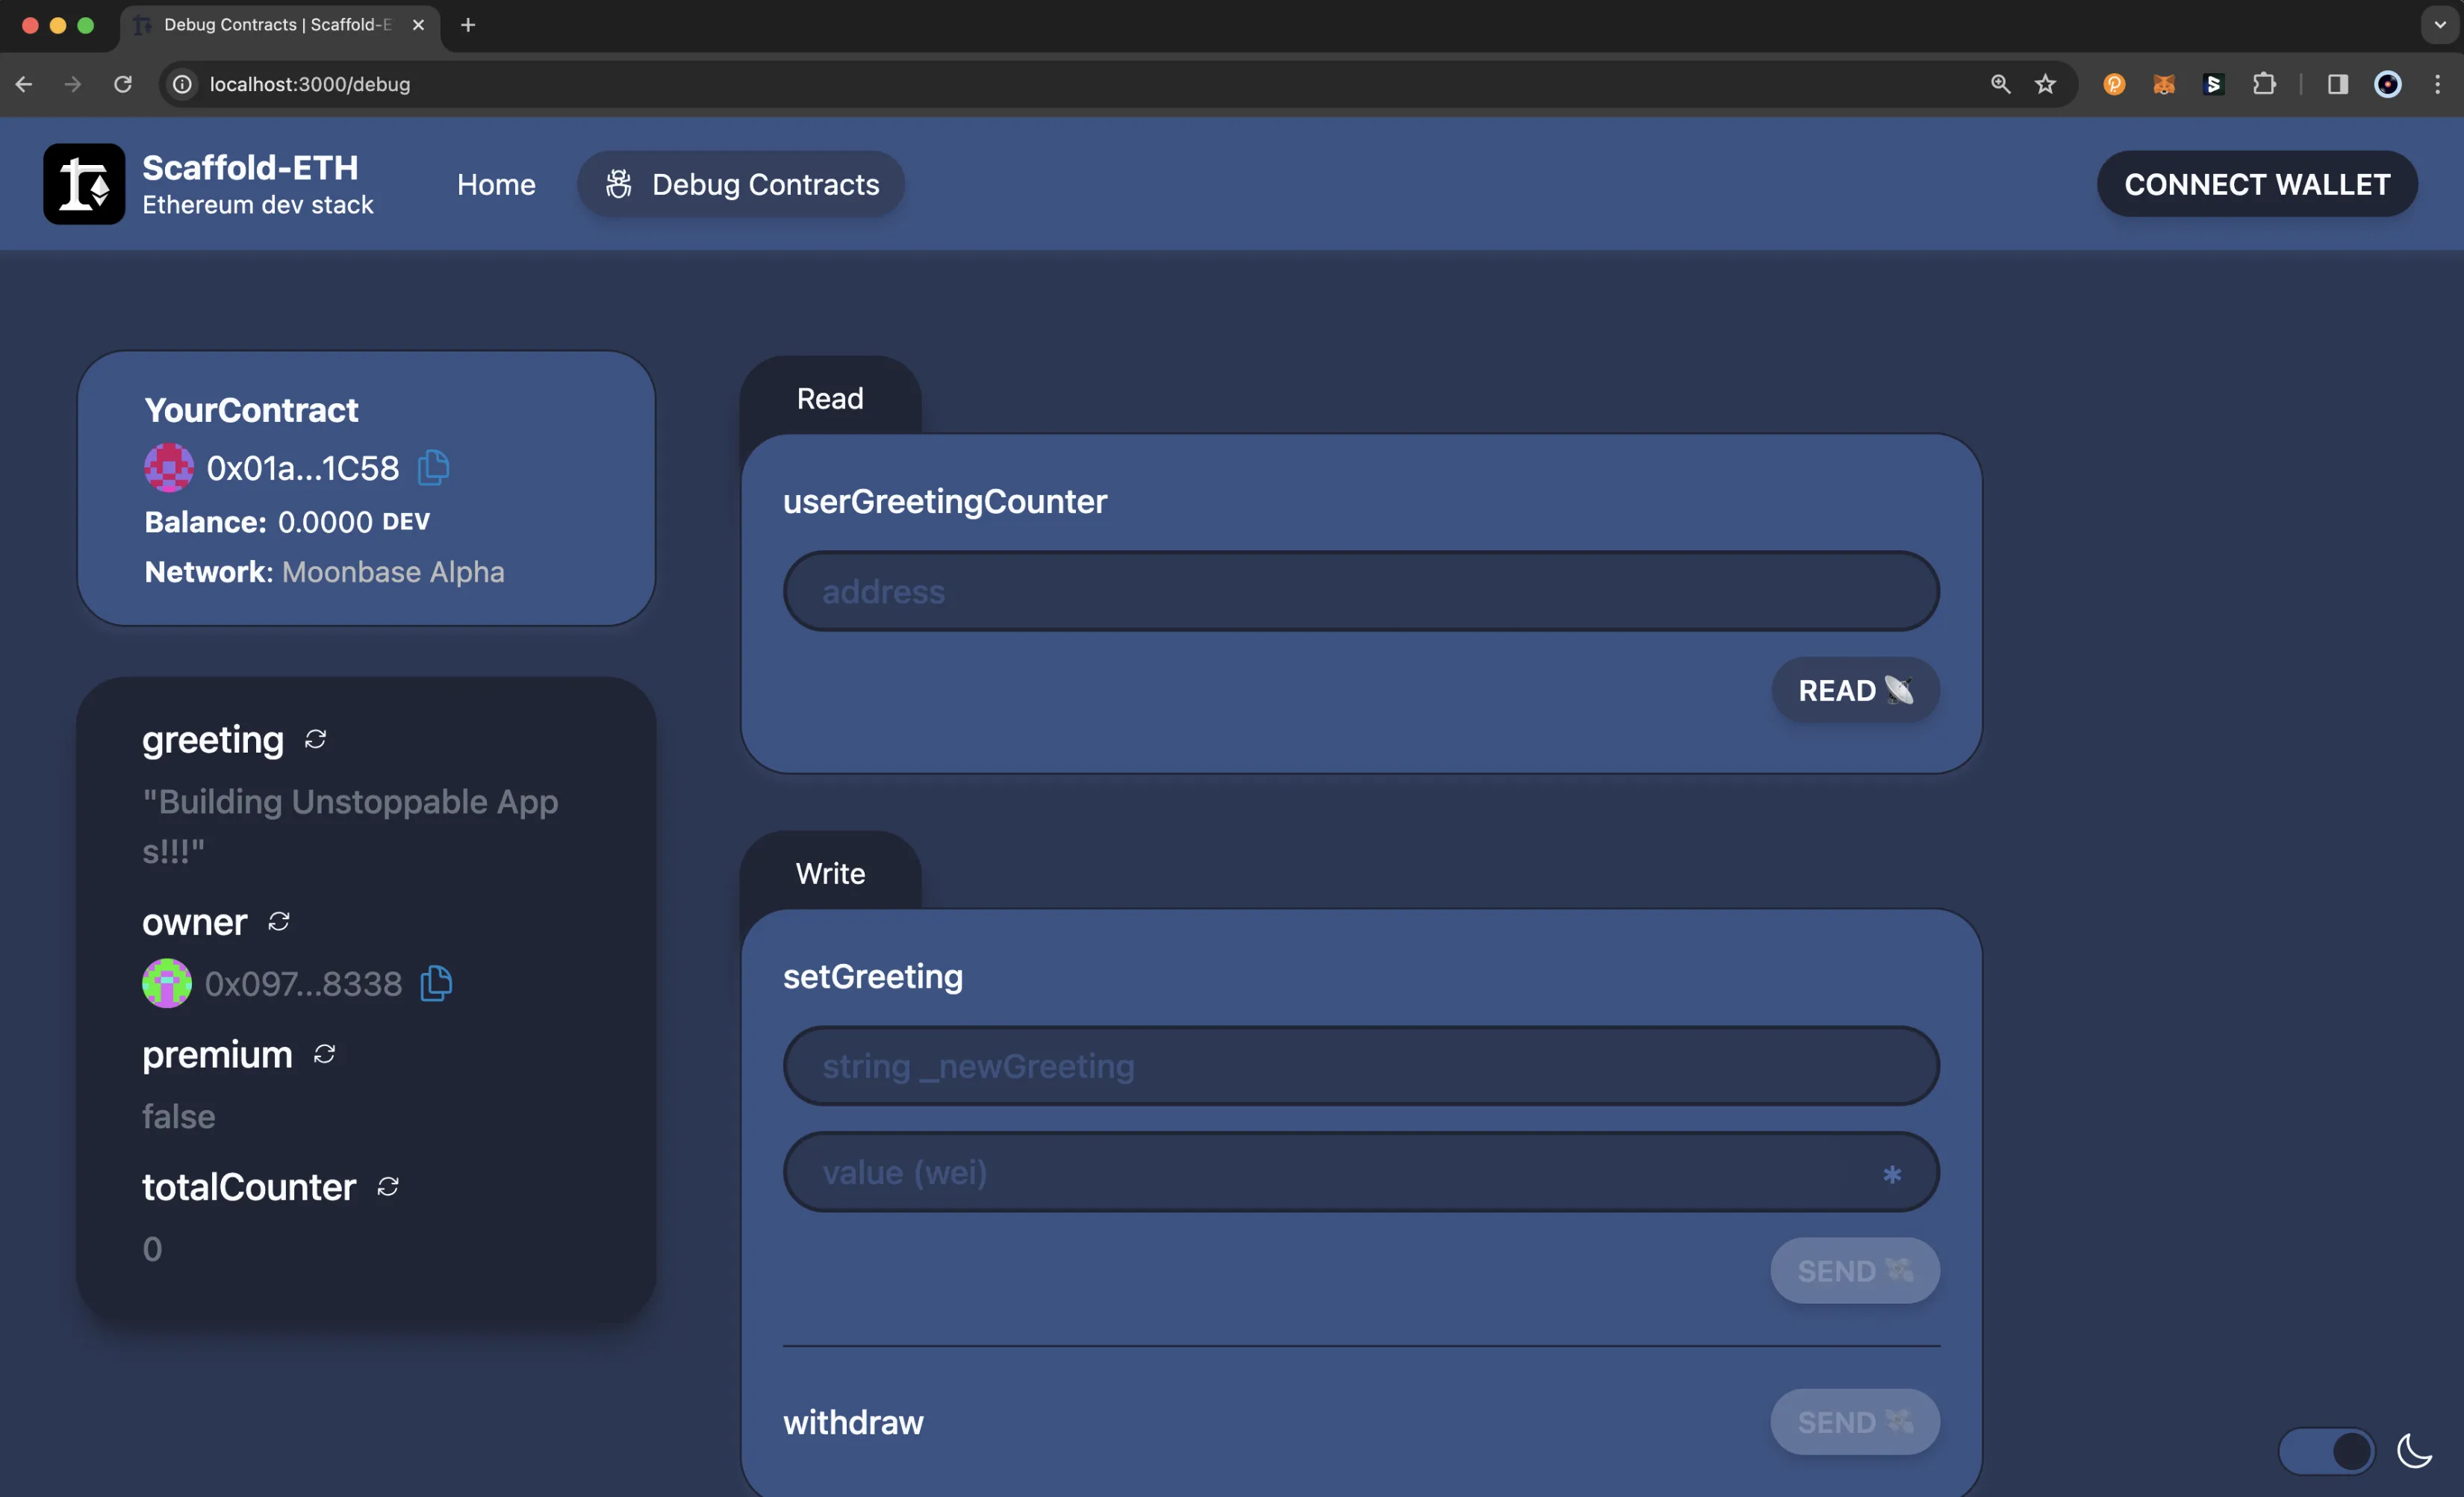
And that's it! Now that you have the basics down, feel free to create and deploy your own smart contracts and modify the frontend to fit your dApp's needs! For more information, you can check out the [Scaffold-ETH 2 docs](https://docs.scaffoldeth.io/).
This tutorial is for educational purposes only. As such, any contracts or code created in this tutorial should not be used in production.The information presented herein has been provided by third parties and is made available solely for general information purposes. Phron does not endorse any project listed and described on the Phron Doc Website (). Phron does not warrant the accuracy, completeness or usefulness of this information. Any reliance you place on such information is strictly at your own risk. Phron disclaims all liability and responsibility arising from any reliance placed on this information by you or by anyone who may be informed of any of its contents. All statements and/or opinions expressed in these materials are solely the responsibility of the person or entity providing those materials and do not necessarily represent the opinion of Phron. The information should not be construed as professional or financial advice of any kind. Advice from a suitably qualified professional should always be sought in relation to any particular matter or circumstance. The information herein may link to or integrate with other websites operated or content provided by third parties, and such other websites may link to this website. Phron has no control over any such other websites or their content and will have no liability arising out of or related to such websites or their content. The existence of any such link does not constitute an endorsement of such websites, the content of the websites, or the operators of the websites. These links are being provided to you only as a convenience and you release and hold Phron harmless from any and all liability arising from your use of this information or the information provided by any third-party website or service.